Settings
Manual mode will get the best out of your camera when it comes to low light photography. What I will lay out below is a basic starting point, light is always different, and lightning is something that dramatically changes this. I would encourage you to experiment with different settings. There are 3 variables that you should be aware of and change.
- ISO – For most cameras, you’ll leave this on a lower setting, around 100. The lower the better generally as the image will appear less grainy.
- Aperture or F-stop – this will give you your depth of field. If the lighting is on dusk, I will often sit around f13. As the light fades and it gets much darker, I will often find myself around f5.6.
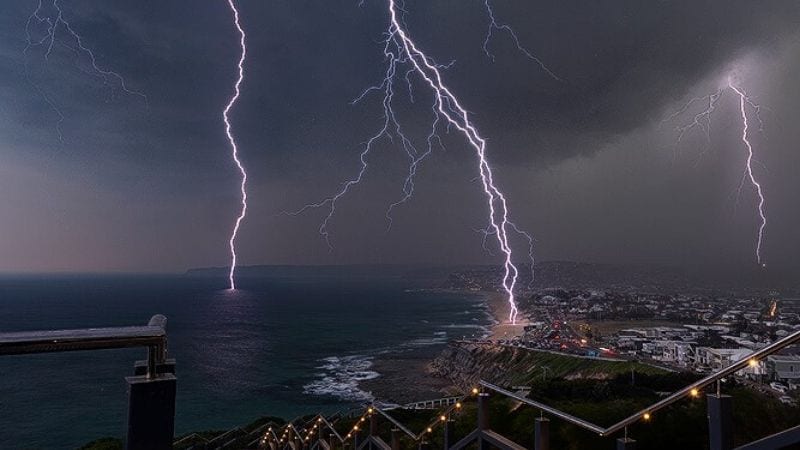
- Exposure – Length of time the camera’s shutter is open. Around dusk at f13 the length of exposure will often be around 1-3 seconds. As the light fades an exposure will head towards 15-20 seconds. If, however, the lightning is close and very bright, the exposure may only be a few seconds. Multiple bolts in your shot will be created by having a longer exposure (30second).
These 3 variables are so dependent on how dark it is and how close or constant the lightning is. You should always check your image after each shot and adjust accordingly. Lightning can be very frustrating to capture as the amount of light and intensity is ever-changing.
Focusing
When shooting at night you will need to disengage autofocus. Either set the lens to infinity or autofocus on some distant lights before switching the lens to manual focus.
Location
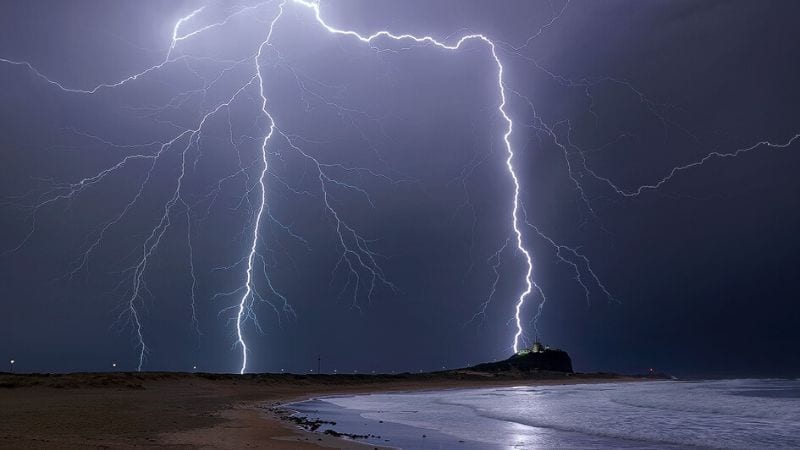
The best spot will always be an exposed skyline, so you have the optimal chance of capturing a full bolt. When you have become comfortable with capturing bolts and adjusting the setting accordingly that’s when I would encourage you to think about some foreground framing.
Lightning, camera, action!
We’ve covered several fundamentals required to achieve that lightning shot you’re after. The key focus should be the sturdy tripod with a wide-angle lens. The setting examples are a great starting point, but you’ll need to play with these and adapt to the situation in front of you. Lightning can be very tricky to capture, plenty of patience, timing and some luck is required. The obvious risks associated with such activity should also be considered. Best of luck with capturing your very own lightning image.
Contributor:
![]()
David Diehm Photography
David Diehm – Owner
Description: David is a Lake Macquarie based photographer who is passionate about capturing the natural beauty of our local region. David provides two main professional photography services to Lake Macqaurie and the greater Newcastle area. His portfolio of Lake Macqaurie images includes landscapes, seascapes and aerial images. If you’re looking for that special image for your home or business, David has a wide variety of quality images available online. You’ll also love his family and maternity shoots because they’re a powerful way to capture memories that will last a lifetime.
Phone: 0434643412
E: daviddiehmphotography1@gmail.com